How to create a problem document
How to create a problem in WebMiau
| Step |
Description |
Image |
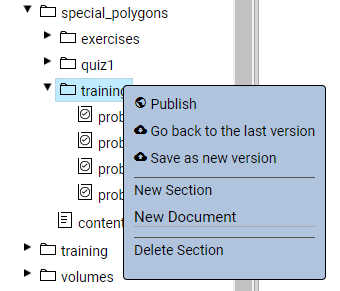
| 1 |
Navigate in the File Explorer to the right directory (section) and open the context menu. Choose "New Document". |
 |
| 2 |
It opens a dialog box. Choose the type Problem, choose one of the templates and enter a name.
Press Save. |
 |
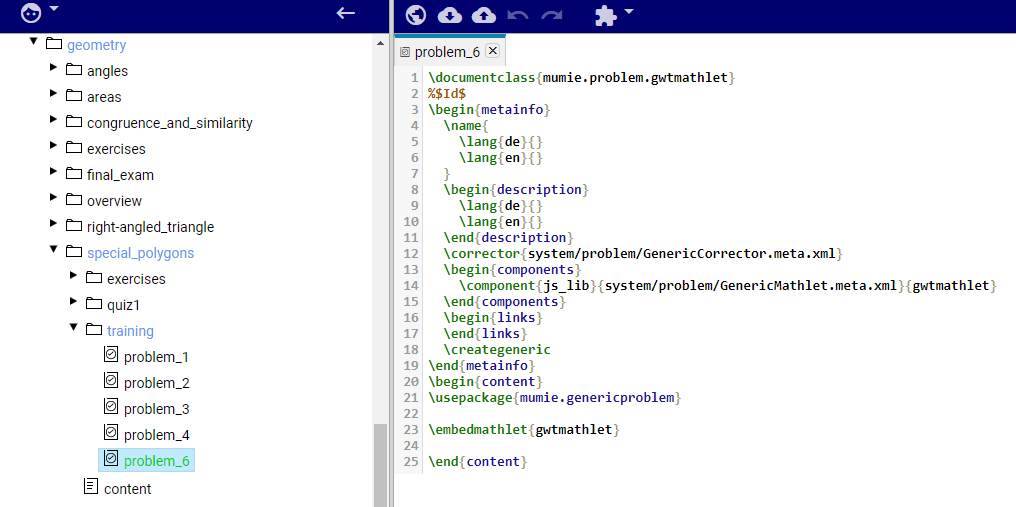
| 3 |
WebMiau creates a new file and displays it green (new) in the File Explorer. Furthermore the new problem opens. |
 |
| 4 |
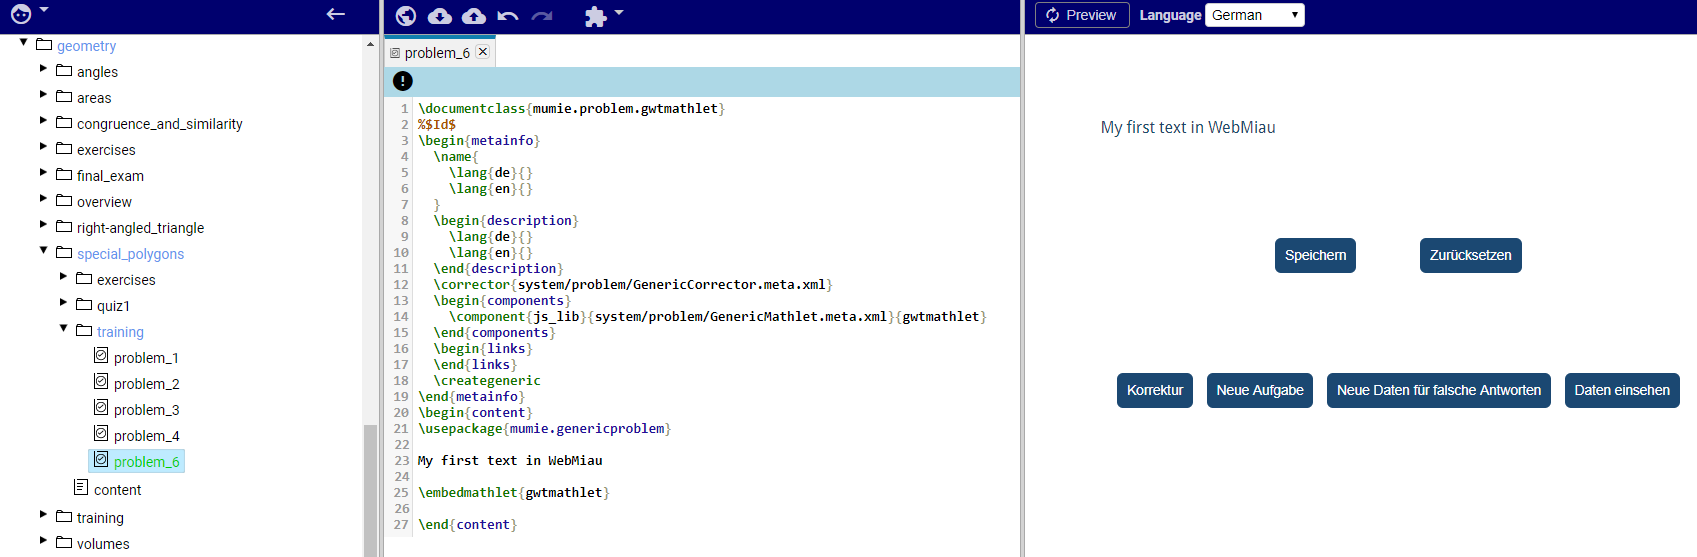
You can now enter content between \begin{content} ... \end{content}
Try for example: "My first text in WebMiau". Create a preview with the preview button on the right toolbar |
 |
File structure
In general, as an author, you don't need to change anything here, WebMiau configures and updates automatically for you.
Problem environment
To start with a question, you have to insert a problem environment, in which you can include as many questions as you like.
In the problem file, set the cursor after
\usepackage{mumie.genericproblem} and use the shortcut Alt-P to insert the problem environment.
WebMiau generates the following code snippet for you
1 2 3 4 5 6 7 | \begin{problem}
\begin{question}
\begin{answer}
\end{answer}
\end{question}
\end{problem}
|
To create another question, set the cursor after the \end{question} environment and use the shortcut Alt-Q.
WebMiau generates the following code snippet for you
1 2 3 4 5 | \begin{question}
\begin{answer}
\end{answer}
\end{question}
|
If you need more than one answer, set the cursor after the \end{answer} environment and use the shortcut Alt-A.
WebMiau generates the following code snippet for you
1 2 3 | \begin{answer}
\end{answer}
|